2021. 11. 17. 01:07ㆍNomadCoders/코코아 클론 챌린지
# 학습 전 나의 상태
어제는 position, pseudo selectors, combinators 등을 배웠다.
난 특히 pseudo selectors 를 사용하는게 조금 어렵게 느껴졌었는데 강의와 과제를 통해서 어떻게 사용하면 되는지 많이 이해했다.
nth-child에 대한 두려움이 사라졌달까? ㅎㅎ 아무튼 긍정적이다.
그동안 html, css는 그래도 한 번 쭉 봤으니까 할 수 있어라고 떵떵거렸던거 같은데 이번에 코코아 클론 챌린지를 하면서 나의 부족함을 느끼게 되었고, 또 그동안 잘 알지 못했던 개념들도 다시 보니 알게되는 것들이 많은 것 같다.
기본으로 돌아가기 위해 시작한 이번 챌린지.. 그리고 바닐라JS 챌린지까지.. 정말 이 시간이 너무 소중하다
JS에 경우 더 깊이 들어가서 공부해야겠지만 그건 모던 JS 사이트를 보면서 정독하고 있고, 개발클럽 동아리에서 많이 배우려고 한다.
(그런데 동아리 모임을.. 잘 못들어간다.. 목, 토는 반드시 참여해야지..)
# 오늘의 학습 내용
states
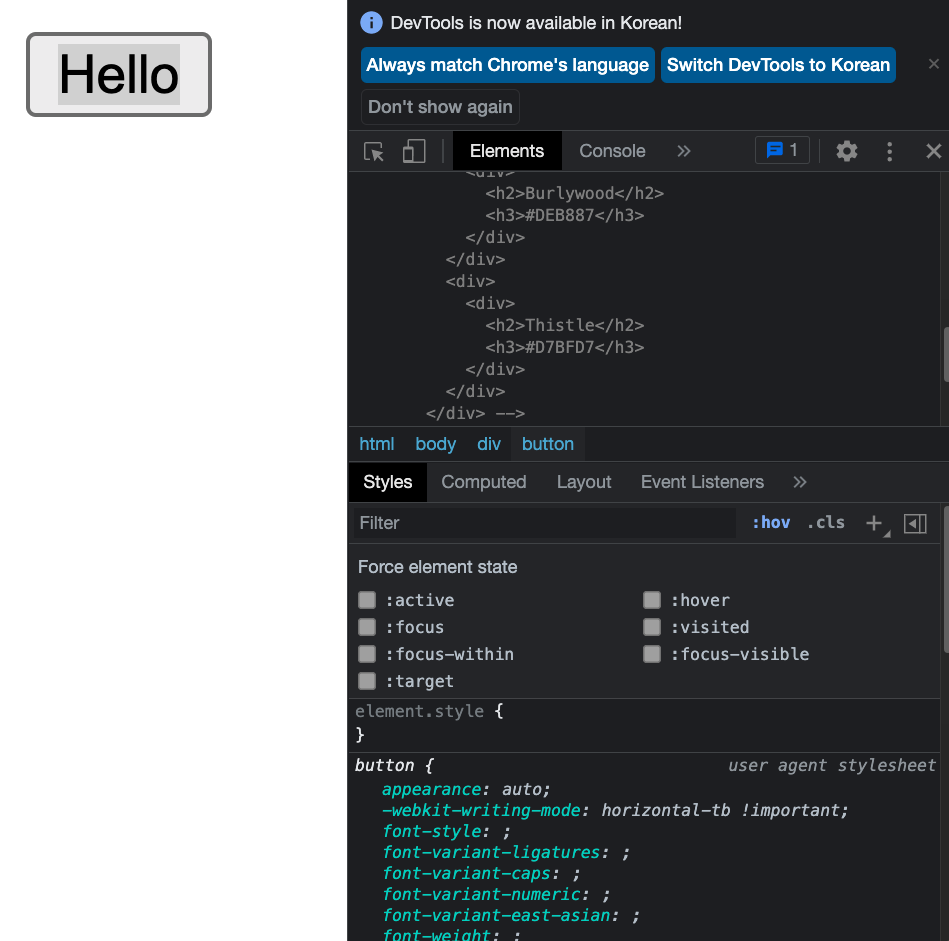
개발자 도구를 열어 state를 확인할 수 있다.
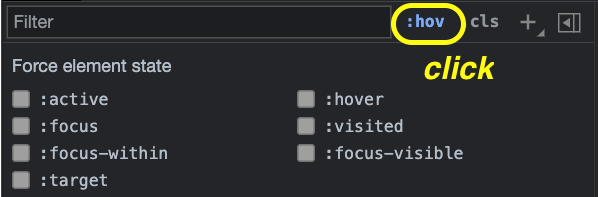
active, hover, focus, visited 등등을 확인할 수 있다.
이렇게 state가 작동해서 스타일이 바뀌면 기존 스타일에서 처음 기본 스타일로 바뀌게 된다.
그래서 state를 넣어 준다면 스타일을 다시 해줘야한다.
active는 버튼을 누르고 있을 때 파란색 배경과 흰색 글씨로 바뀌게 된다. 버튼을 놓으면 다시 원래 버튼으로 돌아온다.
<!DOCTYPE html>
<html lang="ko">
<head>
  <meta charset="UTF-8">
  <meta http-equiv="X-UA-Compatible" content="IE=edge">
  <title>Home - My first website.</title>
  <link rel="stylesheet" href="/style.css">
  <style>
    button:active {
      background-color: blue;
      color: white;
      border: 2px solid blue;
      border-radius: 2px;
 	 }
  </style>
</head>
<body>
  <div>
    <button>Hello</button>
  </div>
</body>
</html>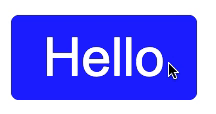
hover는 마우스를 버튼에 올려 놓았을 때 작동한다.
  <style>
    button:hover {
      background-color: blue;
      color: white;
      border: 2px solid blue;
      border-radius: 2px;
    }
  </style>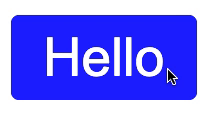
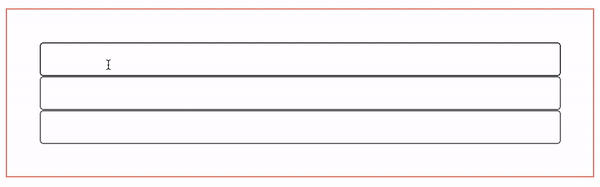
focus는 키보드로 선택되었을 때, 키보드로 선택할 수 있다.
예로 여러 input을 만들고 클릭하면 포커스가 생긴다.
그리고 tab 키를 누르면 포커스가 다음 input으로 이동한다.
<!DOCTYPE html>
<html lang="ko">
<head>
  <meta charset="UTF-8">
  <meta http-equiv="X-UA-Compatible" content="IE=edge">
  <title>Home - My first website.</title>
  <link rel="stylesheet" href="/style.css">
  <style>
    input:focus {
      background-color: aqua;
    }
  </style>
</head>
<body>
  <div>
    <input type="text">
    <input type="text">
    <input type="text">
  </div>
</body>
</html>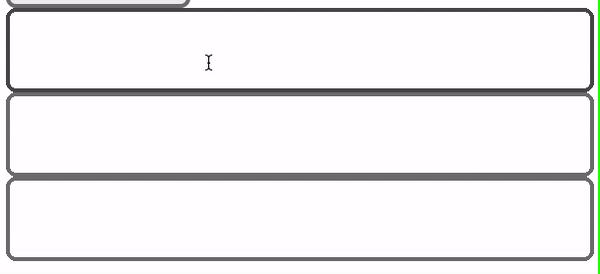
visited는 링크에만 적용된다.
<!DOCTYPE html>
<html lang="en">
<head>
  <meta charset="UTF-8">
  <meta http-equiv="X-UA-Compatible" content="IE=edge">
  <meta name="viewport" content="width=device-width, initial-scale=1.0">
  <title>Home - My first website.</title>
  <link rel="shortcut icon" size="16x16 32x32 64x64" href="https://nomadcoders.co/m.png">
  <link rel="stylesheet" href="/style.css">
  <style>
    a:visited {
      color: yellowgreen;
    }
  </style>
</head>
<body>
<div>
    <a href="https://www.codestates.com/">Go to codestates</a>
  </div>
</body>
</html>
visited를 적용하고 사이트를 방문하면 아래와 같이 글자색이 엘로우그린으로 변경된다.

이런 것 때문에 전에 구글에서 클릭했던 링크를 볼 수 있는 것이다.
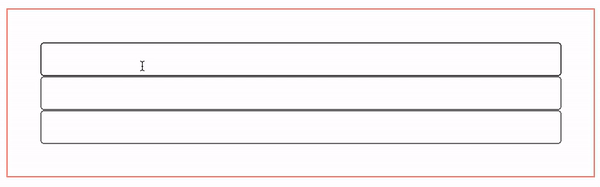
focus-within
- focused인 자식을 가진 부모 엘리먼트의 상태, 즉 부모 엘리먼트에 적용된다.
- form 엘리먼트 안에 어떤 것이든 focused 되면 border-color를 적용해줘라~ 하는 것
<!DOCTYPE html>
<html lang="en">
<head>
  <meta charset="UTF-8">
  <meta http-equiv="X-UA-Compatible" content="IE=edge">
  <title>Home - My first website.</title>
  <link rel="stylesheet" href="/style.css">
  <style>
    form {
      border: 1px solid salmon;
      display: flex;
      flex-direction: column;
      padding: 20px;
    }
    form:focus-within {
      border-color: seagreen;
    }
  </style>
</head>
<body>
    <form>
      <input type="text" name="" id="">
      <input type="text" name="" id="">
      <input type="text" name="" id="">
    </form>
</body>
</html>- input을 클릭하면 form에 border-color가 적용된다.
- state를 다른 엘리먼트와 연계해서 사용할 수 있다.
- form에 hover 하면 input의 배경색이 변경된다.
form:hover input {
  background-color: seagreen;
}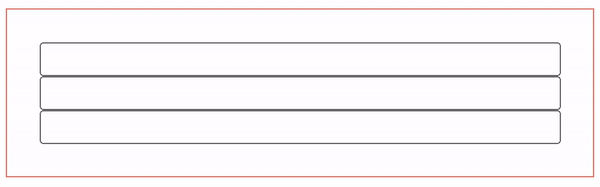
- 추가로 input:focus를 하면 마우스를 올렸을 때 반응하지 않지만
- input을 클릭하면 focused 되고 배경색이 변경된다.
- 이때 form 밖으로 마우스를 옮기면 배경색은 사라지지만 focused는 유지된다.
pseudo-element
- 해당 HTML 요소의 특정 부분만 선택할 때 사용
- 선택자::의사요소이름 {속성: 값;}
- 예제로 input의 placeholder 의 글자색 변경하기
<!DOCTYPE html> <html lang="en"> <head> <meta charset="UTF-8"> <meta http-equiv="X-UA-Compatible" content="IE=edge"> <title>Home - My first website.</title> <style> /* input의 첫 번재 자식요소의 placeholder 글자색 변경 */ input:nth-child(1)::placeholder { color: crimson; } /* input의 두 번재 자식요소의 글자색 변경 */ input:nth-child(2) { color: chartreuse; } </style> </head> <body> <form> <input type="text" placeholder="Name"> <input type="text" placeholder="Name"> </form> </body> </html>

selector::selectioin {속성: 값;}
<!DOCTYPE html>
<html lang="en">
<head>
<meta charset="UTF-8">
<meta http-equiv="X-UA-Compatible" content="IE=edge">
<title>Home - My first website.</title>
<style>
p::selection {
color: white;
background-color:gold;
}
</style>
</head>
<body>
<p>Lorem Ipsum is simply dummy text of the printing and typesetting industry.</p>
</body>
</html>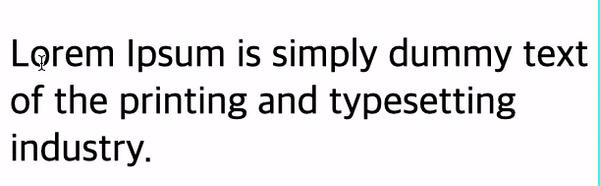
Color
- 컬러코드 => #000(검정)
- RGB(red, green, blue) => rgb(252, 206, 0)
- backgrouind-color: rgba(252, 206, 0, 0.5) /* 여기서 a는 투명도(opecity)를 말한다. a의 값이 1이면 100% 0.5면 50% */
- 컬러를 저장하고 싶다면..
:root { /* --main-color를 documnet의 root에 저장 */ --main-color: #DEB887; } p { color: var(--main-color); } - 변수는 dash 2개 다음에 dash 1개 그리고 변수 이름 => --변수-변수이름
- 변수를 사용할 땐 var(...)
- 컬러뿐 아니라 다른 것들도 가능하다.
- css custom properties 참고하기
# 학습을 마치며
state와 color, 변수 등을 배우면서 css를 어떻게 사용해야할지 생각을 좀 하는 계기가 된 것 같다.
매번 기본적인 것들만 생각했는데 나는 프론트엔드 개발자를 위해 준비하고 있으니 이런 지식들을 잘 익혀야겠다.
css를 많이 알면 알수록 더 재미있을 것 같다.
'NomadCoders > 코코아 클론 챌린지' 카테고리의 다른 글
| 2021. 11. 17. (수) 코코아 클론 - CSS_06 (0) | 2021.11.18 |
|---|---|
| 2021. 11. 16. (화) 코코아 클론 - CSS_05 (0) | 2021.11.17 |
| 2021. 11. 15. (월) 코코아 클론 - CSS_03 (0) | 2021.11.15 |
| 2021. 11. 13. (토) 코코아 클론 - CSS_02 (0) | 2021.11.13 |
| 2021. 11. 12. (금) 코코아 클론 - CSS_01 (0) | 2021.11.13 |